Raspberry Pi 4 is a nifty computer with a small footprint. Ideal for running Pi-hole, a network-wide ad blocker. That's what I'm running on my home network. I wanted to understand the amount of bandwidth that is choked by ads and incessant queries from mobile and desktop apps.
I have been using Pi 4 with Pi-hole for nearly a year and I access the Pi-hole's Web UI on mobile (Android and iOS) and desktop (Windows and macOS). While there is no one true cross-platform app, I wanted to access Pi-hole stats from the menu bar on macOS quickly rather than opening the Web UI in a browser on my Mac.
Objective: Single-click display of Pi-hole statistics on Mac's menu bar.
I figured out that there are two easy ways to show Pi-hole stats on your Mac's menu bar.
1. BitBar with Pi-hole Status Plugin [FREE]
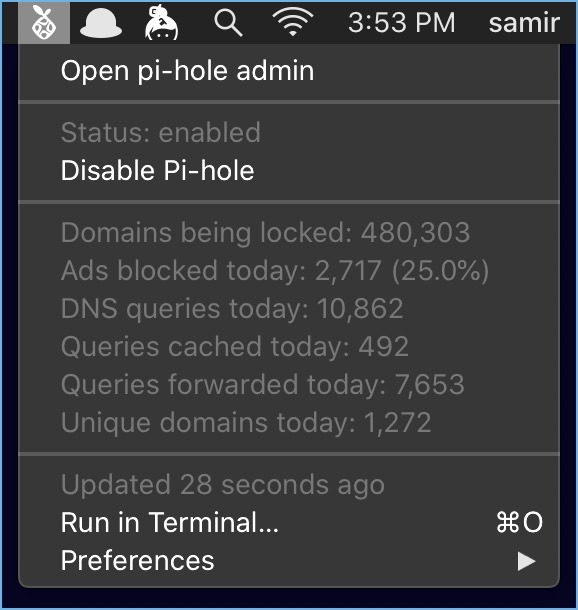
Recently, I revisited BitBar to check whether it works with the latest macOS 10.15.4 Catalina update. BitBar uses Python-based Plugins to offer the most basic details and controls on the menu bar. Here's how to get it.
Note: BitBar supports Mac OS X Lion and higher versions.
Step 1: Download BitBar and unpack the .zip file. Then, drag and drop the BitBar app into the Applications folder of your Mac.
Step 2: Launch BitBar. It will ask you to pick a Plugins directory. Create a new folder and use it as the Plugins directory.
Step 3: Get the Pi-hole Status Plugin from the BitBar's Plugins repository and install it.
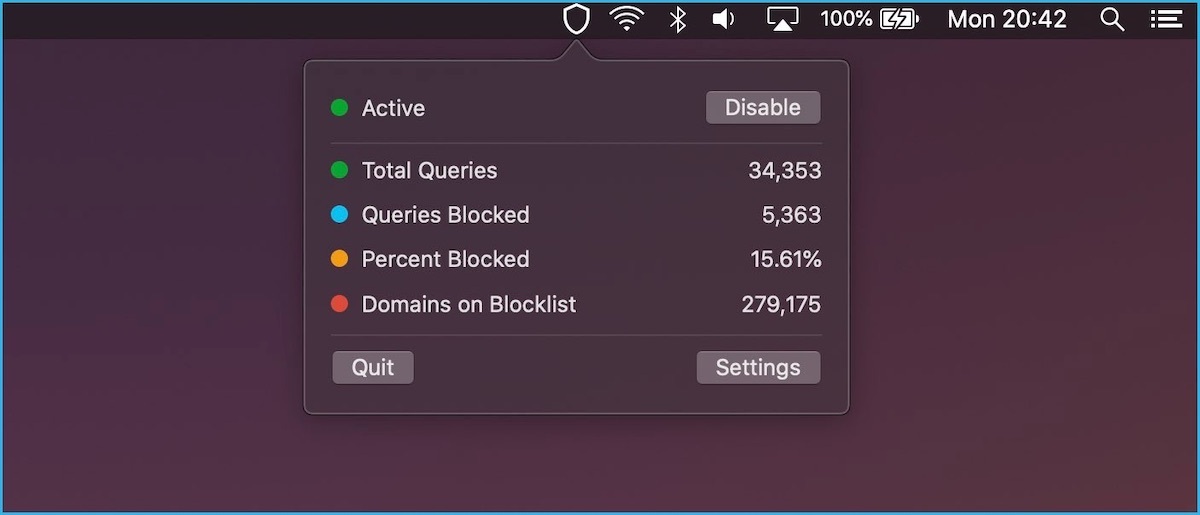
After that, the menu bar will show a Pi-hole icon, and you can click on it to view all the critical details you want to view.
Since it's a Python-based plugin that runs in the menu bar, it is non-obstructive, user-friendly, and free. You can tinker around the plugin script if you know Python language.
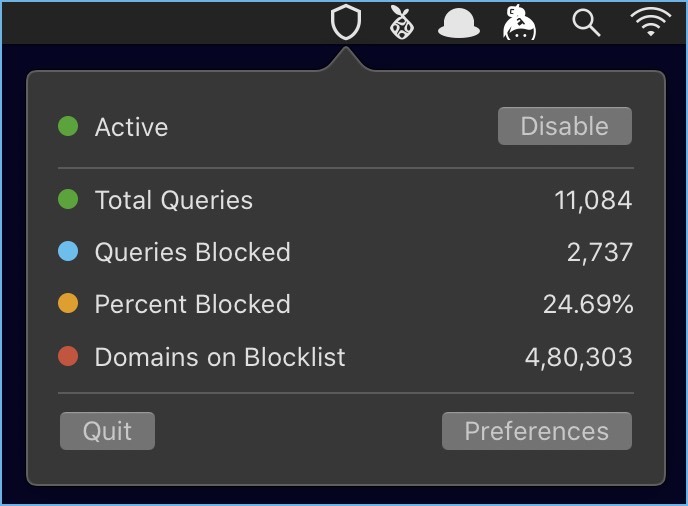
2. Pi Stats v1.2 [FREE & PAID]
On May 19, Fernando Bunn announced the release of the Pi Stats (then, Hole Stats v1) to the early adopters. Well, I grabbed the opportunity to check the app by paying a modest amount to support him.
PiStats runs on SwiftUI and is also available at Github. You can support Bunn's development efforts by paying for the same app on Gumroad and Mac App Store.
After you download and install the app, you need to provide an Authentication Token to let it access Pi-hole stats. There are two ways to get the API Token.
Let's check the easy but least secure way.
Go to Web UI > Settings > API / Web Interface. On that page, click on 'Show API Token' button. A pop-up will ask if you are sure about viewing the token. When you click Yes, a new tab will open that will show a QR code and a RAW API Token (alphanumeric characters) under it.
A secure way is to copy it from a particular file on your Raspberry Pi installation.
Open the setupVars.conf file using vi, vim, or nano using your Pi's terminal.
sudo nano /etc/pihole/setupVars.conf
Find WEBPASSWORD option and then copy the API token next to it.
Then click on the Pi Stats icon on the menu bar and then click on open Preferences to open them. Feed your Pi-hole's IP address in the box next to Host. Then paste the API token under it.
A Few Words
A quick comparison showed that PiStats was marginally faster at fetching new queries. That means it runs the queries often compared to the BitBar's Pi-hole Status plugin. In the long run, both apps will end up consuming a fraction of your MacBook's battery resources. So it's entirely your call of keeping either of them running all the time.